Hanging space is a tricky thing to create, but it can be done with some creativity. In this blog post, we will explore how you can make hanging space in your home or commercial building. We will go over the basics of what is needed for hanging space and then break down the different ways you can create it. There are many creative options available that allow people to enjoy their favorite hobby from anywhere!
Create extra hanging space in wardrobe
Table of Contents
If you want to create hanging space in a wardrobe, there are many creative options available. You can hang shelves outside of the wardrobe door where they would be out of the way and still accessible with clothing on them. This is especially useful for people who have limited storage space or live in small spaces because it takes up no extra floor space at all! Another great option is to install some hooks inside your closet doors that allow clothes items to hang from these as well.
Create Hanging Space Behind Doors
Hanging space behind doors will keep things like coats and shoes contained while allowing easy access when needed. Installing hooks on a cabinet door allows jackets and other outerwear to be hung without taking up much room at all but being available whenever you need them.
Hanging Space Inside Doors
One of the most overlooked places for hanging space is inside your closet doors, where clothes can be hung from hooks installed on each side. This way items are always available but out of sight and won't take up valuable floor space when not in use. Installing a rod across the top will allow even more clothing to hang at once!
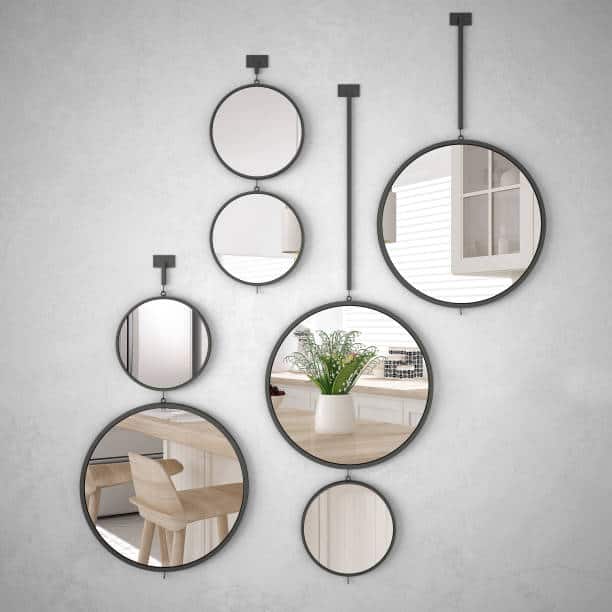
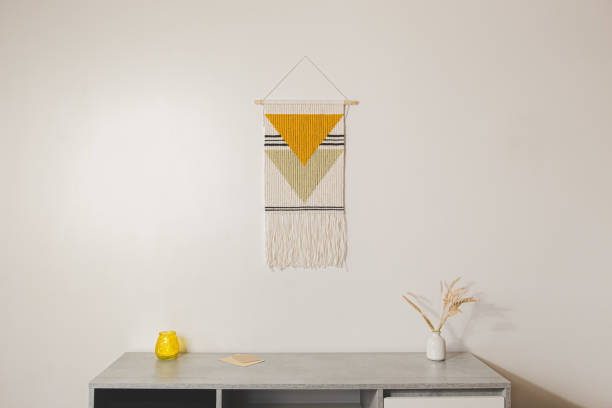
How do you make a simple wall hanging?
There are lots of options for making a simple wall hanging. One option is to use a large frame and then wrap your fabric around it, securing the edges with staples or tacks. Another way is to create an unfinished canvas painting, again wrapping the sides in fabric, this time using velcro strips to secure them together. You can also purchase ready-to-hang canvases that come pre-stretched and covered!
What size should my Hanging Space be?
Roughly one square foot per person - if you have three people living in your home at least three square feet of space should be dedicated to hangers alone (six feet total). The same goes for clothes dryers - one cubic foot per wash load is needed.
Does Hanging Space need to be done by a professional?
No, you can do it yourself with just some basic DIY skills! With lots of tutorials out there online, you'll have no problem finding all the information and tips that will help you design your space perfectly for less than £800.
What are some benefits I get from creating Hanging Space in my home?
It makes clothes easier to find - which is especially beneficial if you're looking for something specific (a dress shirt or black skirt) when time is short; this means fewer trips up and down stairs to dig through piles of laundry!
Clothes dry faster as they now reside on racks instead of sitting in little piles waiting for the washer and dryer to do their magic.
It's a great way of saving money on your electric bill as you're not running appliances all day long; this also means less wear and tear on them, which is very important if you've just spent quite a bit of cash buying new ones!
The environment will thank you too! Hanging Space clotheslines save up to 8000 gallons/year in water consumption (according to ecouterre)! And that doesn't take into account how much energy it saves by using air drying instead of an appliance like the tumble dryer or even microwave drying.
How To Create Hanging Space: What You'll Need
- A sturdy roof rack system fitted with two long hanging bars at the back
- A screwdriver and drill
- Four wooden or metal poles, cut to the desired height (one for each corner of your house)
- Two long screws per pole
How To Create Hanging Space: Build It!
Step One: Find a sturdy location on your roof where you can fit two hanging bars. If it's an old style sloping roof with no gutters, measure up from the top edge so that they are level when standing at the bottom of them.
Measure outwards from this point by 220cm if using one bar or 270 cm if using both bars - anything less will not work as far enough off the ground . Secure these points into place with wood fixings like nail guns, make sure the bars are level and can support a load of up to 50kg.
Step Two: Mount screws into each corner of your house at around 150 cm, or as high as possible without hitting an overhang from the roof above (or gutters). If this is not achievable then try drilling holes 20cm below ground height so that you avoid water pooling on top of them.
Step Three: Fit wooden poles with two long screws per pole into place - these will act as brackets for the hanging bar .
Step Four: Screw in the hanging bar through both brackets until they meet flush against one another . This should now form a sturdy rack which can be used to hang items such as clothes, pots and pans or outdoor furniture like hammocks.
Step Five: Screw in hooks from the bottom of each rack into any wall, or you can use eyelets screwed to a stud for hanging pots and pans on the dining room ceiling. Remember that if there are walls between racks it is recommended to screw at least two brackets per bar evenly spaced apart so as not to create too much strain on one area .
Step Six: Hang your clothes by sliding them over the top of the bar before threading through the loops - this will make sure they don't fall down every time you load up another item!
You could also hang plants off these bars using small metal chains as opposed to planting them directly into dirt which will allow more air circulation around their roots just thread the chain through a hole at either end of your pot before suspending over a bar.
Step Seven: Hang any large items like blankets, sheets or towels on hooks to make use of all that precious space!
Step Eight: Hang any heavy items like duvets off a bar to avoid putting too much strain on your clothesline.
There are many ways you can use these hanging bars, it's just up to you! If you're looking for some inspiration then head here and do the same as we've done above - or get designing yourself and make something unique!
- Fill in more text that is needed before Continue reading below.
- Add specific instructions for readers who want to find out about other topics related to the topic at hand.
Follow this guide if writing longer content with step by step instructions.