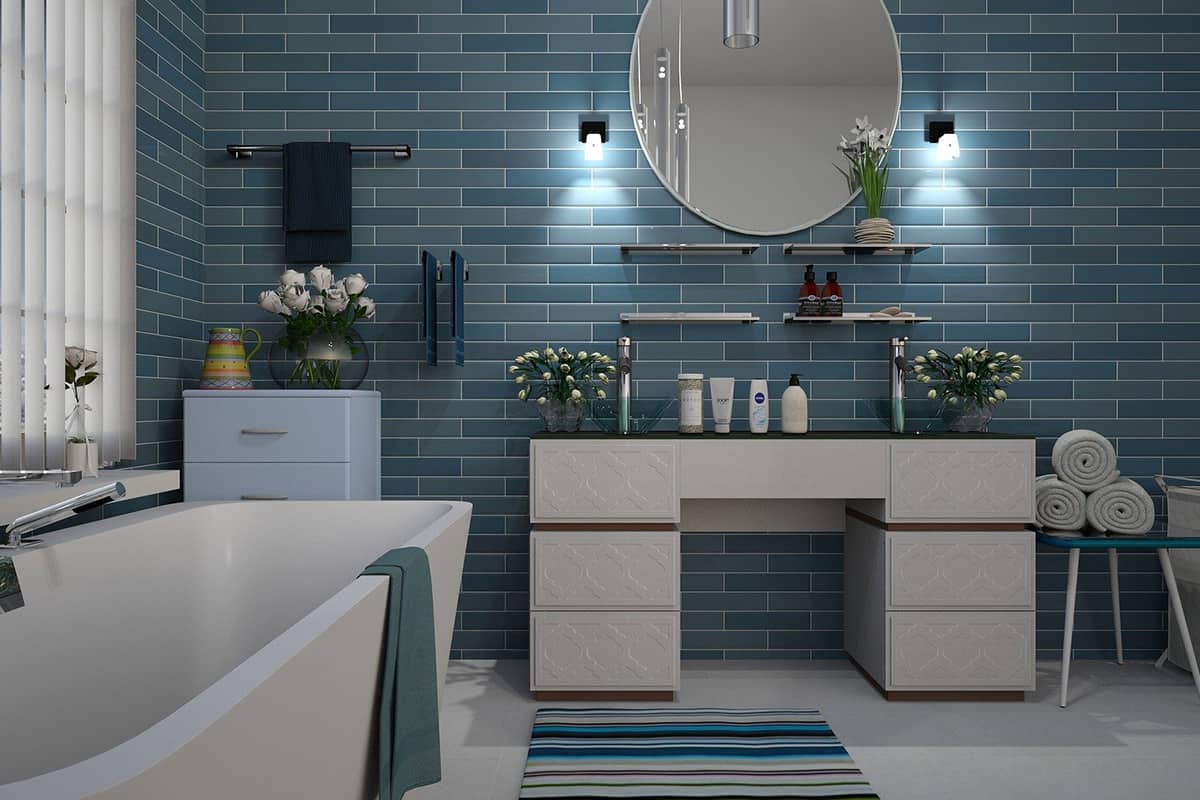
Are your kitchen and bathroom tiles looking a little grotty and dirty? Do you want the bathroom to look new again, but don't want to spend a lot of money on a full renovation just yet? One way around this is to paint your tiles. Painting your tile is a cost-effective way to update the look of your bathroom and kitchen. Here is the Ultimate Guide on Painting over existing tiles:
Preparing for Painting Over Existing Tiles
Table of Contents
Before you start painting your tiles, there are several things that you'll need to do:
1. Clean the Tiles

Cleaning your tiles will ensure that all dirt, grime, and mould are off. You can use a commercial bathroom cleaner to clean the tiles. Be careful when using hazardous chemicals such as these in a bathroom because harmful vapors can be released into the air. If you want to avoid this, there are also non-toxic bathroom cleaners that will still do the job that you're looking for.
2. Sandpaper To Rough Up Tiles
What this does is roughen up the surface of the tiles so that the paint has something to grip onto when it's applied later on. Get a piece of sandpaper and rub it in downward strokes over the surface area of the tiles. Be gentle because you don't want to damage the tiles. If it's a big surface area, consider renting time with an angle grinder from your local hardware store instead of doing it by hand.
3. Mask Off The Surrounding Area
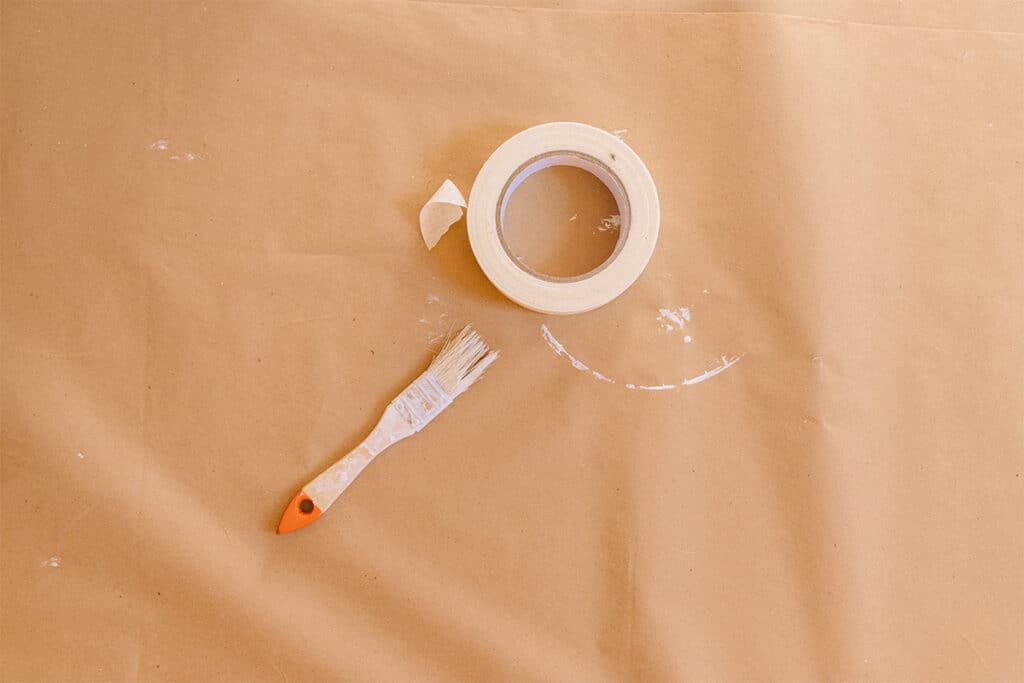
All that dirt and grit from sanding will be flying everywhere as you're working on your bathroom. To protect the rest of your bathroom from this. Put on a pair of goggles and pull out a roll of masking tape.
4. Clear Off All Surfaces In The Bathroom
To make clean up easier once you've finished painting the tiles. Remove everything in the surrounding area so it can be easily wiped down. The last thing you want is paint splatters on your towels or bathmat.
5. Place Newspaper On The Floor
This will also help with clean-up because any drips that fall onto the floor can be easily mopped up while they are still wet. When the paper dries, just roll it up and throw it out along with any other rubbish.
6. Prepare A Bucket Of Warm, Soapy Water For When You're Done Painting
This will make it easier to clean any splatters or drips that fall onto your skin or clothing when you're painting the tiles. It's also good for mopping up spills on the floor once you're done.
What Kind of Paint to Use When Painting Over Existing Tiles?
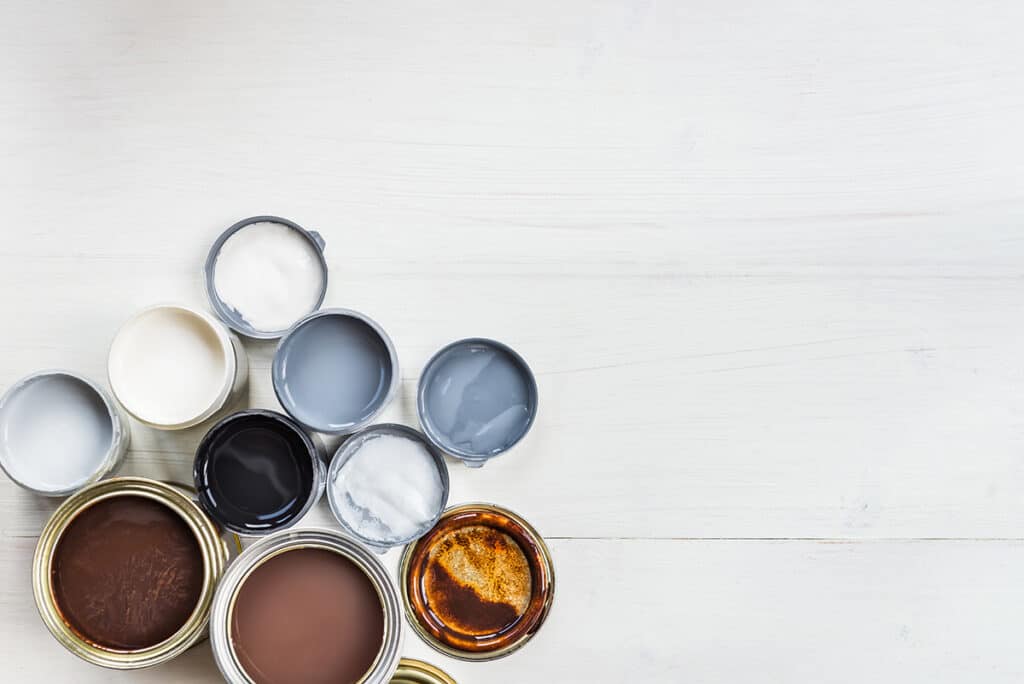
There are many different types of paints that can be used on your tiles, which also means there is no one answer as to what you should use. There are special ceramic paints for tiling, but they usually cost more than regular paint. Here are some examples of different kinds of paint you can use on your tiles:
1. Varnish
This is what will protect the paint against water damage, so it's good to use if your tiles are out in the open or get a lot of moisture. Because this is designed for painting surfaces that get wet, it also provides great coverage and dries quickly.
2. Latex (Emulsion Paint)
This is one of the most popular types of paint used for tiling because it's easy to apply. It provides great coverage, and is available at most hardware stores. Latex paint can be applied directly onto tiles if smooth. Or you can use a primer first to help the paint grip onto surfaces that aren't as smooth.
3. Oil-based
This provides the best coverage but it is difficult to clean after. So be sure to wear old clothes and have a bucket of water on hand before starting this kind of paint job. It also takes longer to dry than latex. So consider this if you want to do your tiling at night or on a weekend. So you have time to clean up the mess after.
Painting Over Existing Tiles
With all that out of the way, here are a few simple steps for painting tiles:
1) Clean The Tiles Of Dust
Get a bucket of warm, soapy water and mix in some of your bathroom cleaners. This is to get rid of any dust on the tiles that might have collected while you were taking things out of the surrounding area. Do not mix the cleaner with the water before placing it in the bucket because this will cause air bubbles which makes it quite difficult to clean your paintbrush off once you've finished.
2) Clean Grout
You can't paint the grout, so you have to clean it before putting down your paint. You can use either bleach or vinegar for this. But be careful not to do both because mixing them together could cause a chemical reaction which would result in an unpleasant smell. Clean your tiles first and let this dry completely before continuing. If you are painting on natural stone tiles, you may have to use a special cleaner first before the bleach or vinegar method.
3) Tape Off Your Design
If you don't want to paint your entire shower. Here is where you can put those old leftover pieces of masking tape that are lying around in your house. You can even be creative and do a tile mosaic or paint the tiles around your shower curtain. If you want to try out a design on some of your tiles first, go ahead and do so on some spare ones. Once you're done, use it as a reference while applying your paint to the rest of the area.
4) Apply Masking Tape
Once you've done that, use your masking tape and tape off the areas you don't want to paint. You can also cover up any electrical outlets, but be sure to turn off the power first. Do not try to peel it off, if it's wet this can loosen the plaster around the tiles. If you want to make a sort of 'frame' around your shower or bathroom. Just keep taping off areas to make it look like that.
5) Start Painting
Depending on the type of paint you're using. Your tiles can be ready to use in as little as two hours after painting them. Let the first coat dry completely before applying another one. If you used multiple colours, let each colour dry before applying more.
6) Clean Up
Clean up any overflowing paint. If the paint drips onto the grout, use a damp towel with cold water to wipe it off. If you used oil-based paint, try using mineral spirits to clean your brush with instead of water. Mineral spirits won't dry out your brush like soap will. So, there you have it! Painting over your old tiles is a relatively simple process that can be done in just a few hours. Just make sure you follow these steps and use the right type of paint for your surface. Now get painting and enjoy your refreshed bathroom in no time at all!
We hope you have found everything you need from this article. Why not stay a while and check out some of our other articles on our blog. Including pieces on flower arrangement and how to paint your house like a pro!